I have never taken a hooking class. Everything I do with my hook is self taught from books, the internet, and chatting with hooker friends. I have never used rug binding to finish a rug. Instead, I usually just turn the rug backing under and stitch it down. It became difficult for me to do this with a chairpad. How do you just turn it under and stitch it down when the rug itself is round? Hummmm... I thought. Well, this is my way of doing it. If you are a FINE hooker, you may cringe.... but this is my primitive, make-do way & I love it!
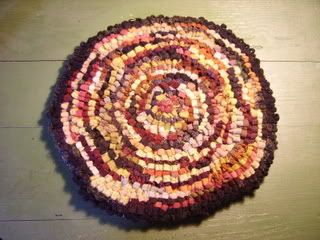
After hooking my hit 'n miss mat, I turned the linen backing under ~ gathering it here and there and pressing it with an iron.
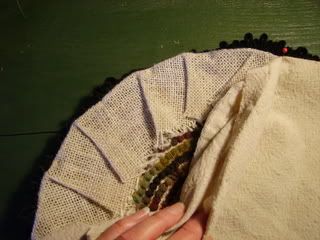
I then cut an old cotton grain sack about an inch larger than the mat. I did this by just laying the pad on the sack & cutting.... nothing fancy or measured. Next, I turned the raw edges of the cotton fabric under & pinned it to the pad.
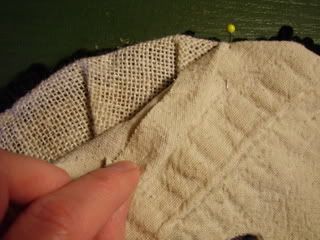
With my FAVORITE linen thread ready....
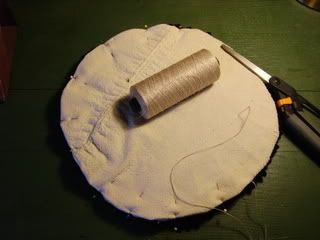
I used a double strand of thread to stitch a simple stitch around the perimeter of the pad.
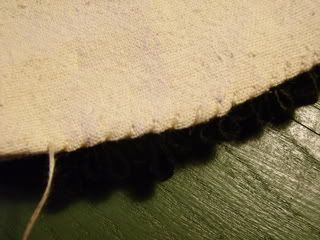
Notice the seam on the back? Well, I thought it would be extra prim to leave it.... it is from the original grain sack.
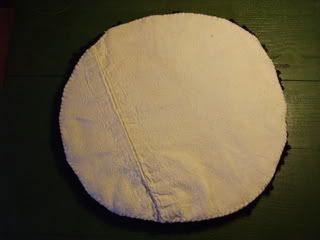
Here is the front of the pad ~ before adding my Walnut & Spice stain...
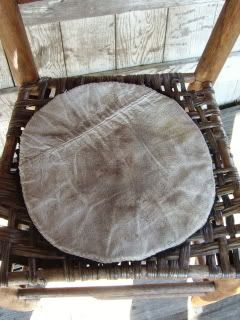
Here is the back ~ after adding the stain... it looks nice & used ~ doesn't it?
And the front after the stain...
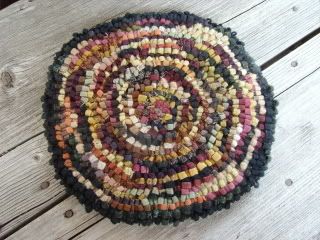
So, that is how I made this extra-prim, extra-simple, extra-make-do chairpad.
It is listed now on my Lemon Poppy Seed Shop....
My Poppy Shoppe
Smiles,
Betty





It's so primly FANTABULOUS, Betty! You've chosen your colors well...=0]
ReplyDeleteHi Betty!
ReplyDeleteThis piece is really nice! I love the colors also. Great Job on finishing it off and aging it. Looks very authentic. :-)
Kimmie in OP
Hi Betty,
ReplyDeleteYou've Been Tagged! Please come to my Blog to get the information! It is a fun one, different than the other!
Hugs,
Kimmie
Hi Betty,
ReplyDeleteI love the tutorial. Your work is beautiful. I got a chuckle out of your comment "my hooker friends". Ladies of the evening? :)
Have a wonderful weekend.
Sweetest regards,
Shelly